
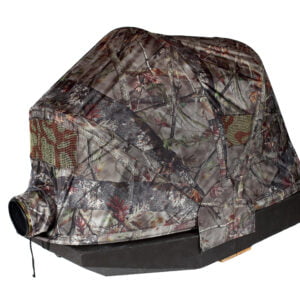
The floating blind technique is a wildlife photography classic. It allows you to float while supporting the weight of your camera while you stay camouflaged inside. You will never get closer to aquatic fauna or have a better low-angle perspective of the water, resulting in beautiful reflections and intimate portraits. If you have time to spare, room for storage, and like to experiment, you can easily build your own floating hide. Here is how we did it.
This model is inspired by several hides we tested. It is light and foldable and can easily be transported by car.
Materials and manufacturing
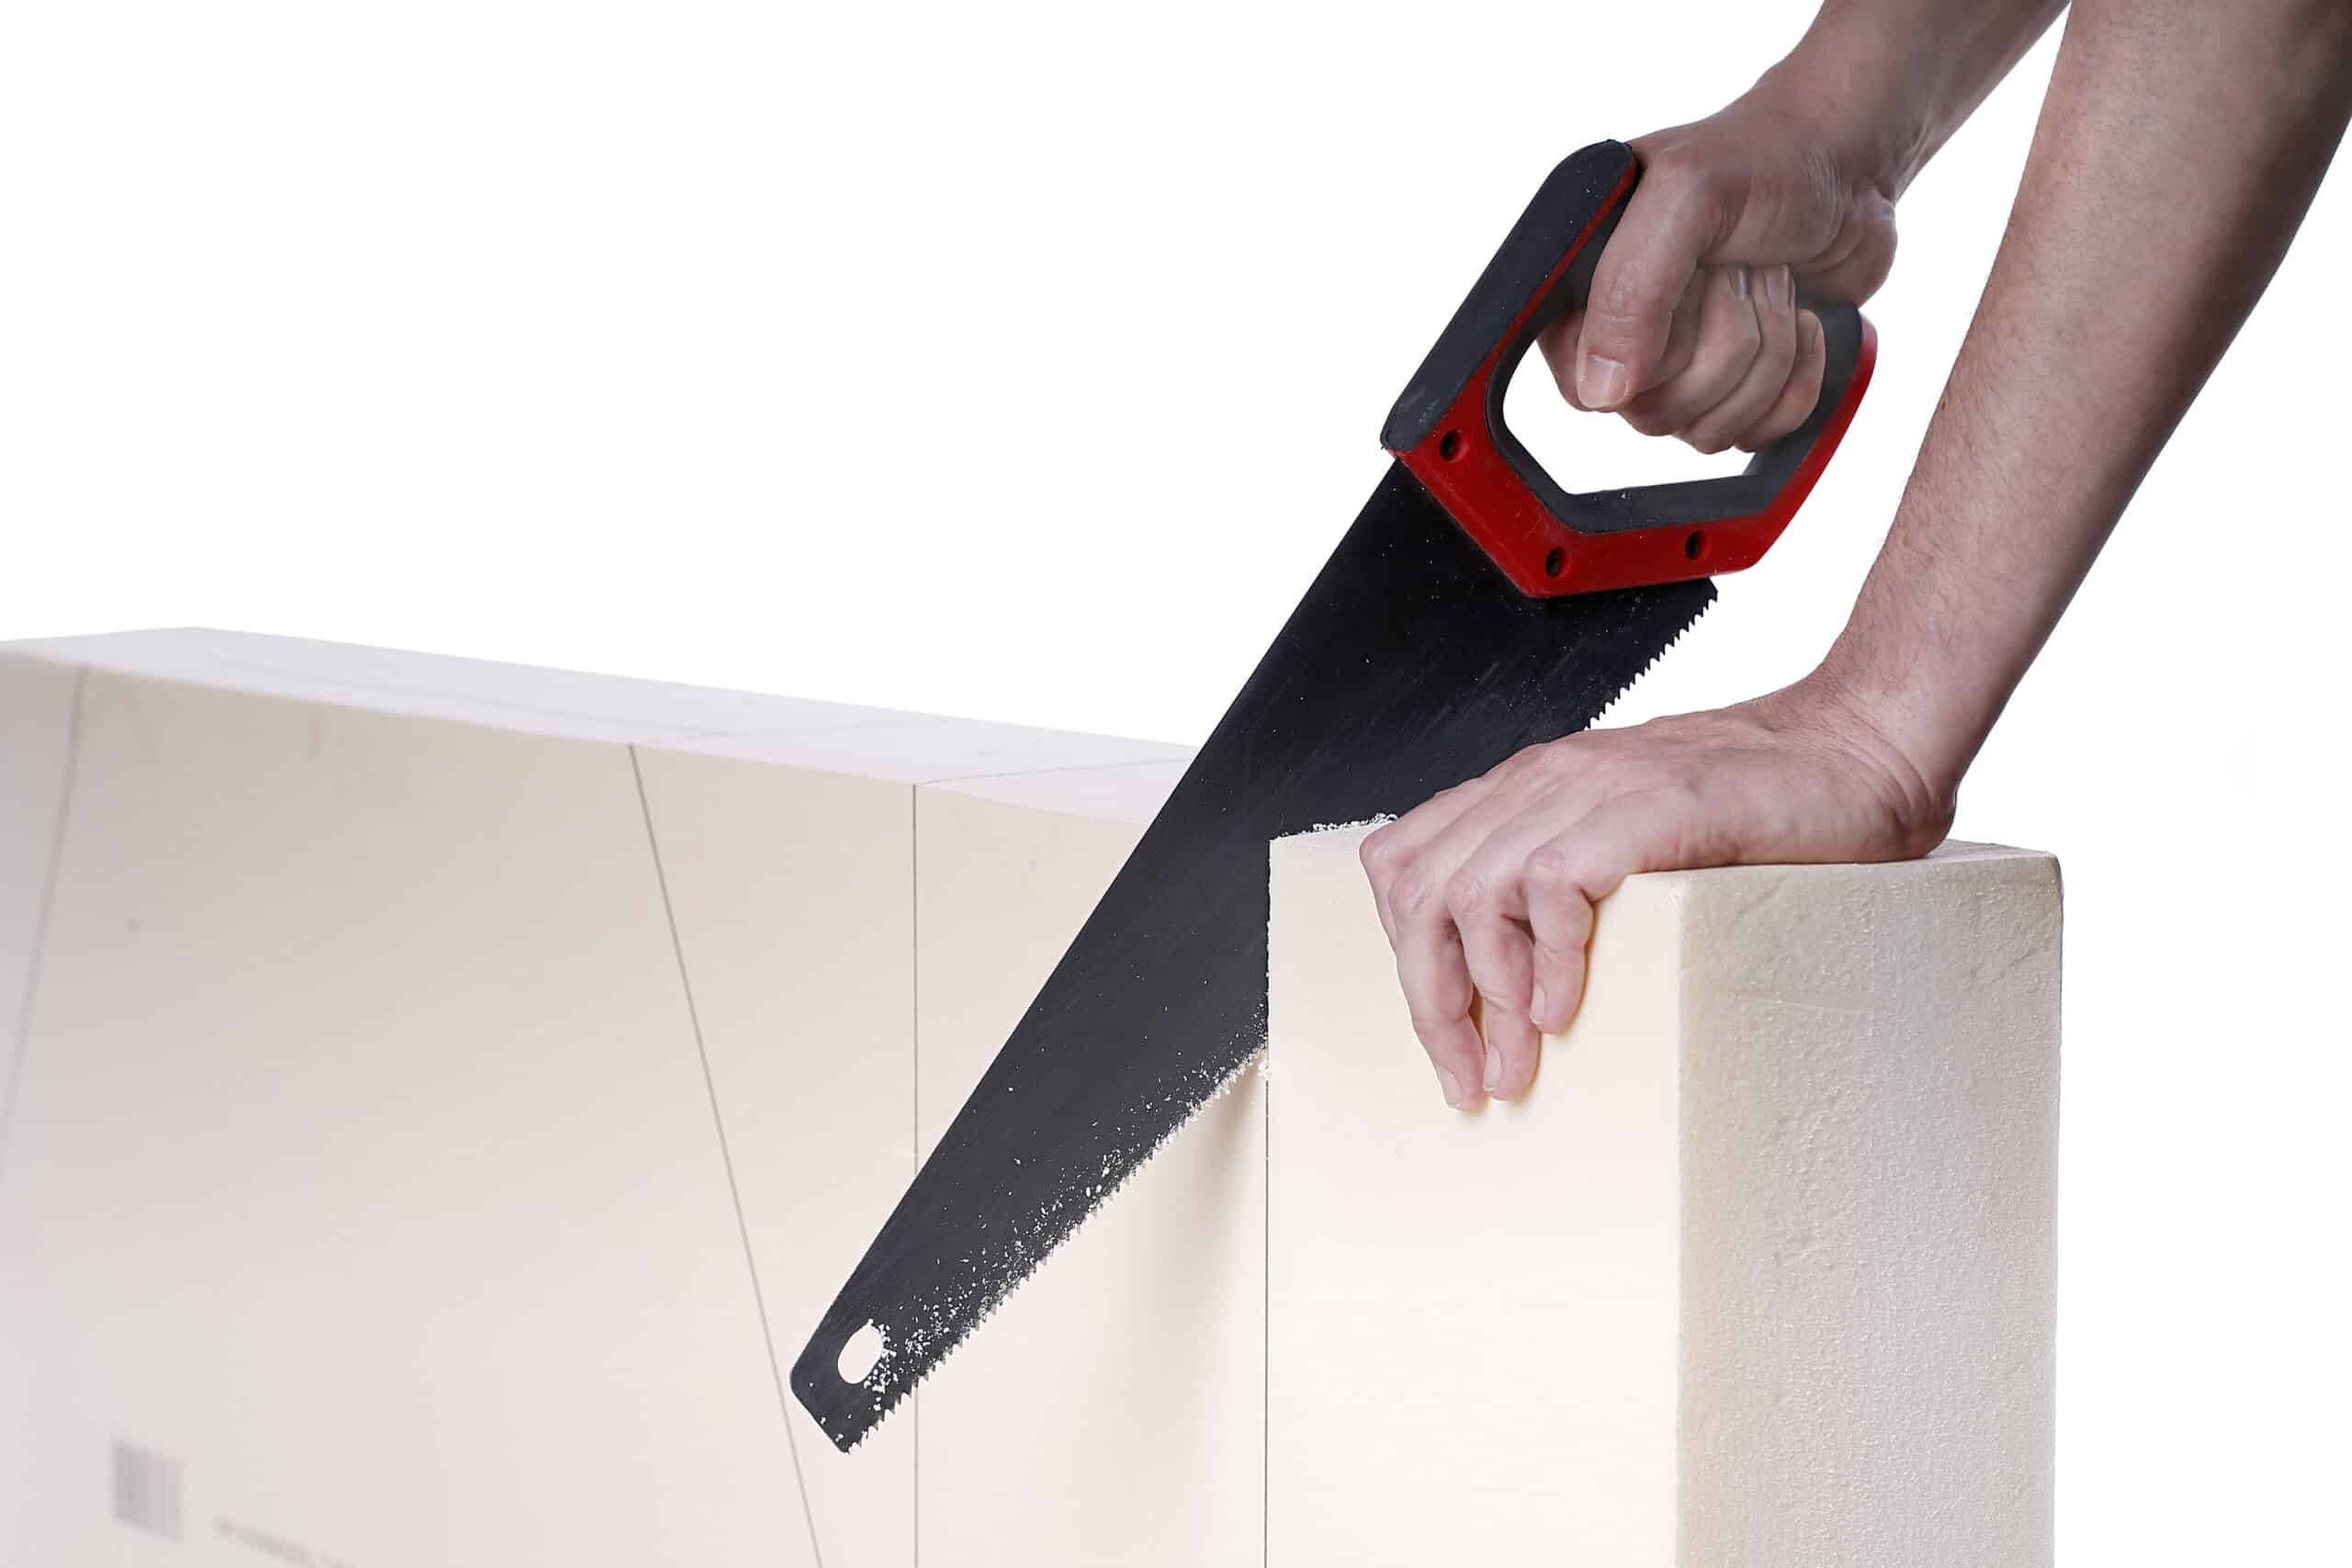
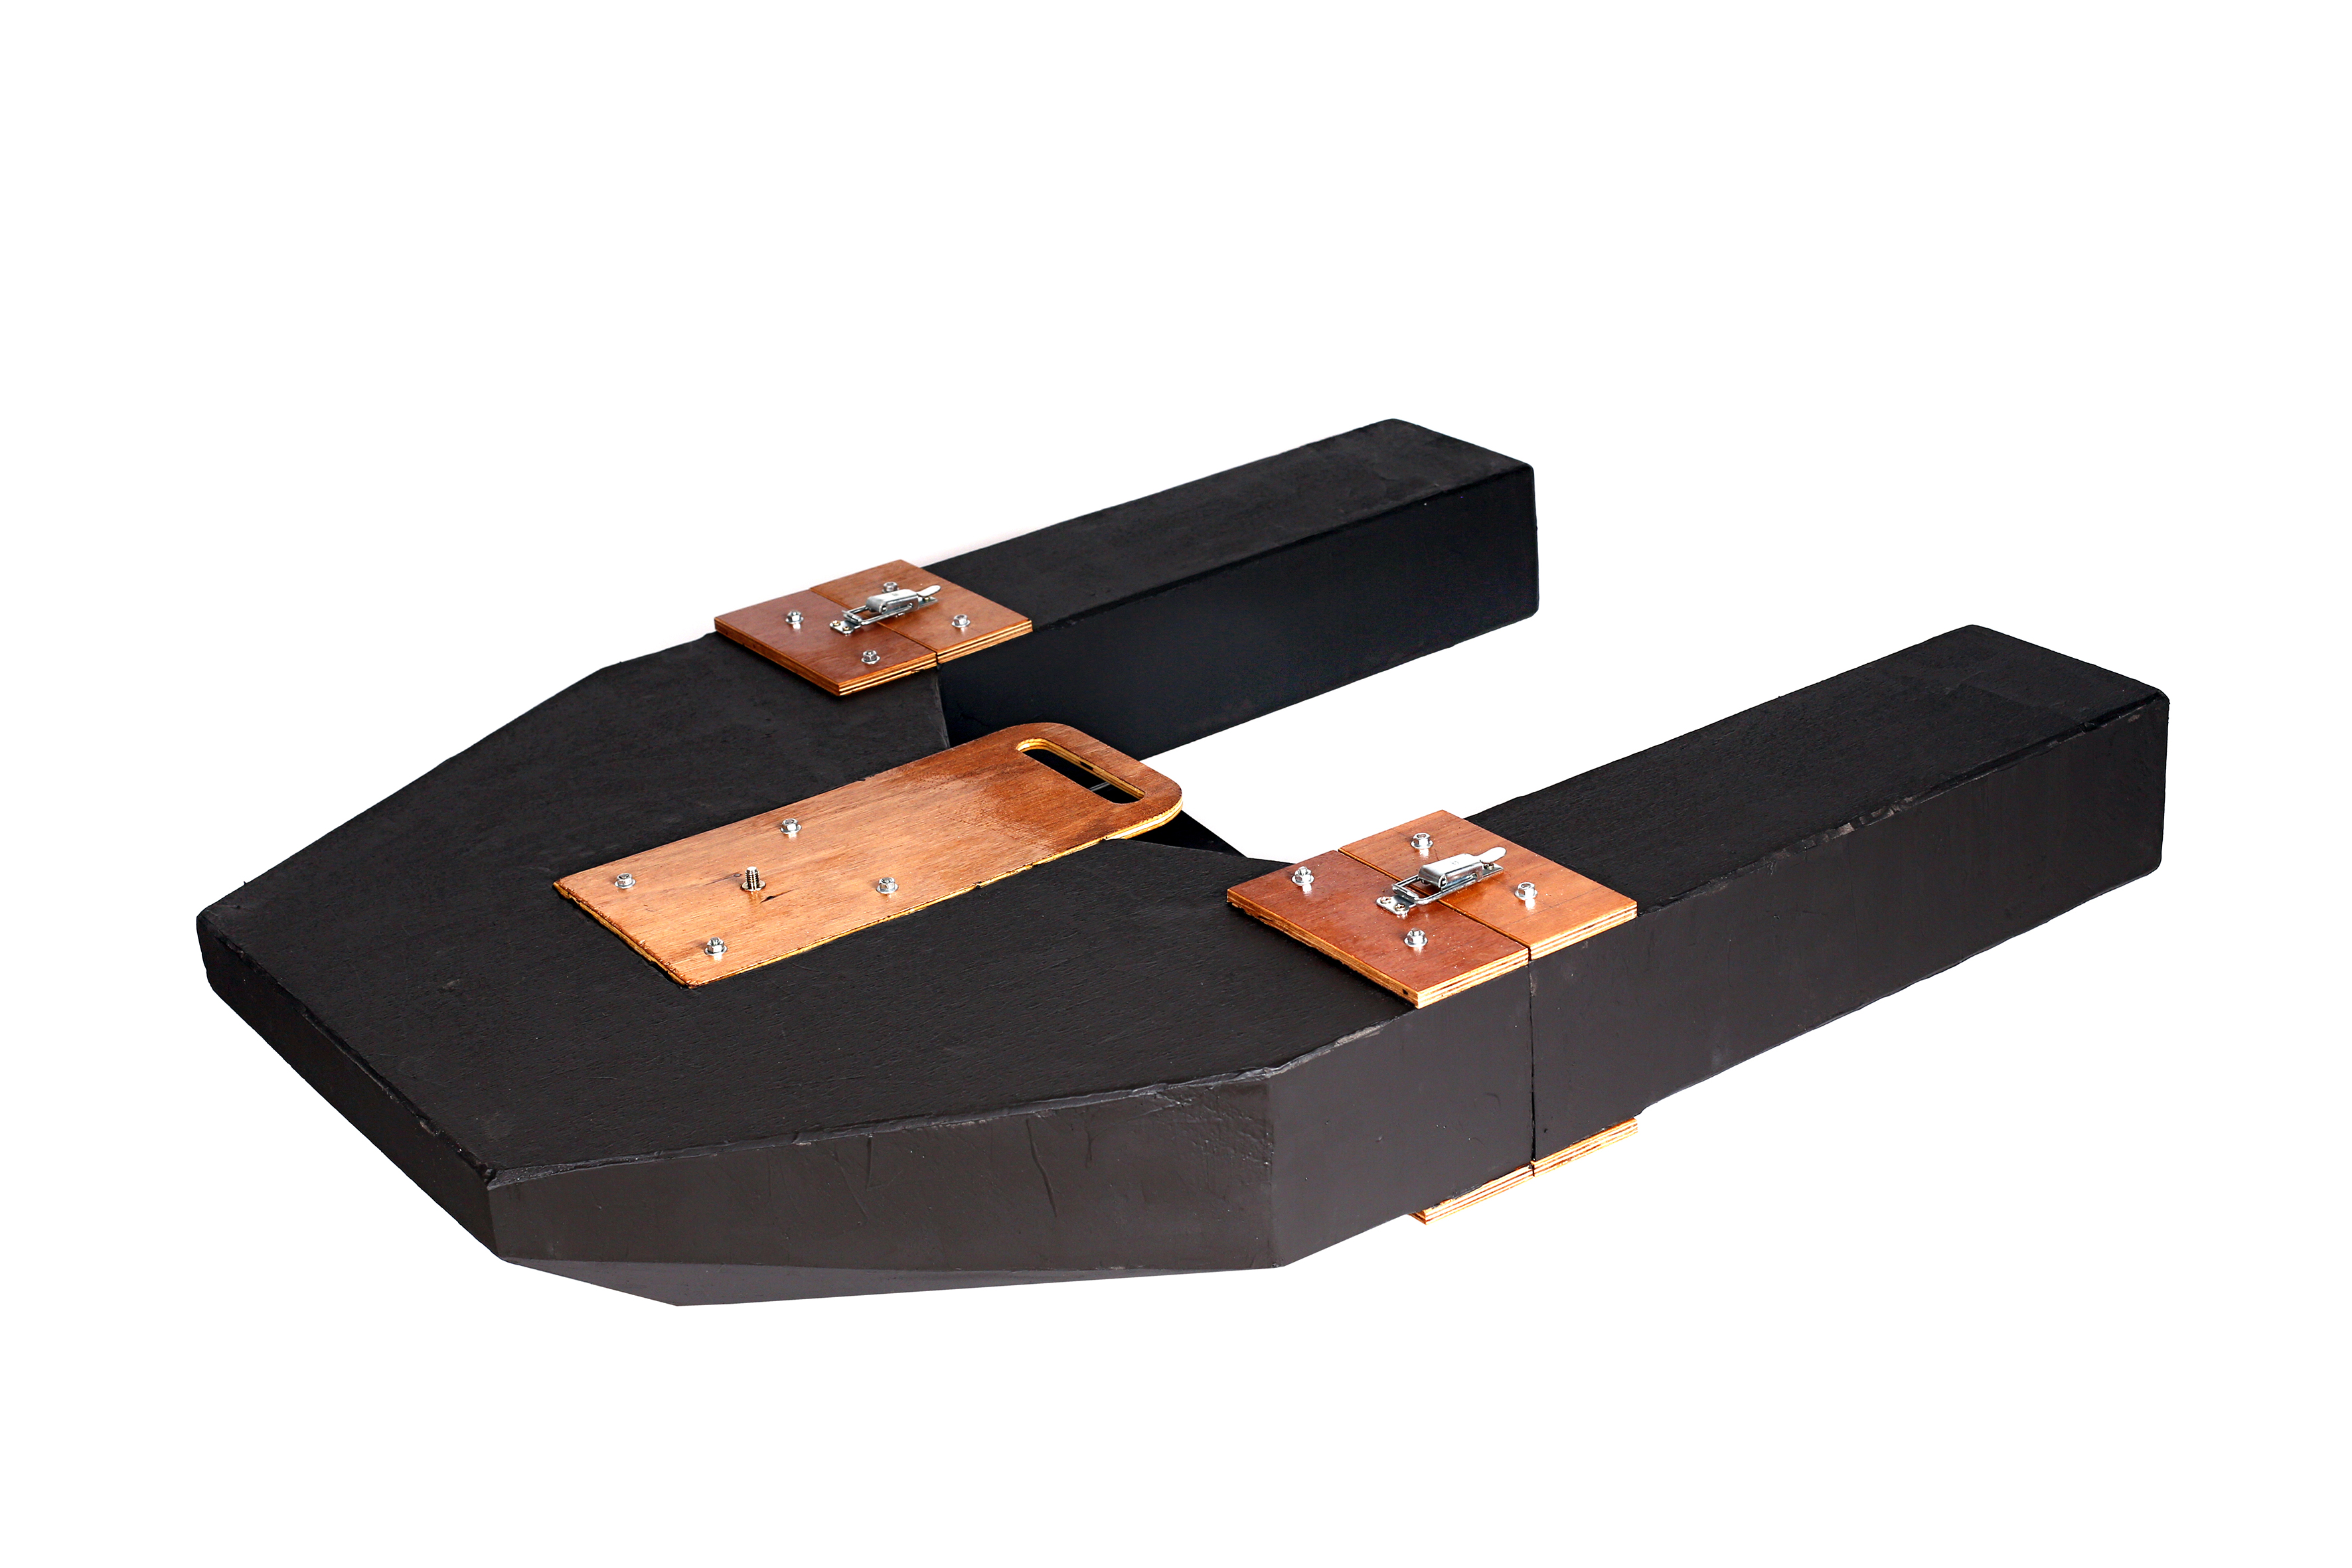
The float is made of polystyrene, which can be found in DIY centres. It is a material used for insulation. Be sure to use extruded polystyrene and not expanded. The latter consists of small balls of material that disintegrate, polluting the water with pieces that animals can swallow. The extruded material is resistant and compact, does not crumble and reduces the amount of wood needed for production and also the weight.
The standard blocks measure 60 x 125cm, and we choose a thickness of 14cm. We saw the blocks with a wood saw after we drew the template on both sides. Keep the blade perpendicular to the outer surface of the block, ensuring that it follows the line on the two opposite sides. The cuts are then sanded for a better finish.
List of supplies
- 1 extruded polystyrene block of 60x125cm, thickness 14cm
- 8 sheets of marine plywood 10mm thick, dimensions 8x20cm
- 1 sheet of marine plywood 10mm thick, dimensions 20x40cm
- 1 sheet of marine plywood 10mm thick, dimensions 20x20cm
- 12 threaded rods with a diameter of 6mm and length of 18cm
- 24 nuts diameter 6mm + thin washers
- 4 stainless steel hinges
- 2 tensioner fixings
- 5 PVC tubes diameter 12mm length 2m
- 2 copper plumbing fittings in T diameter 12mm.
- Waterproof and camouflaged tarpaulin and camouflaged net, strap and elastic
Cut-outs
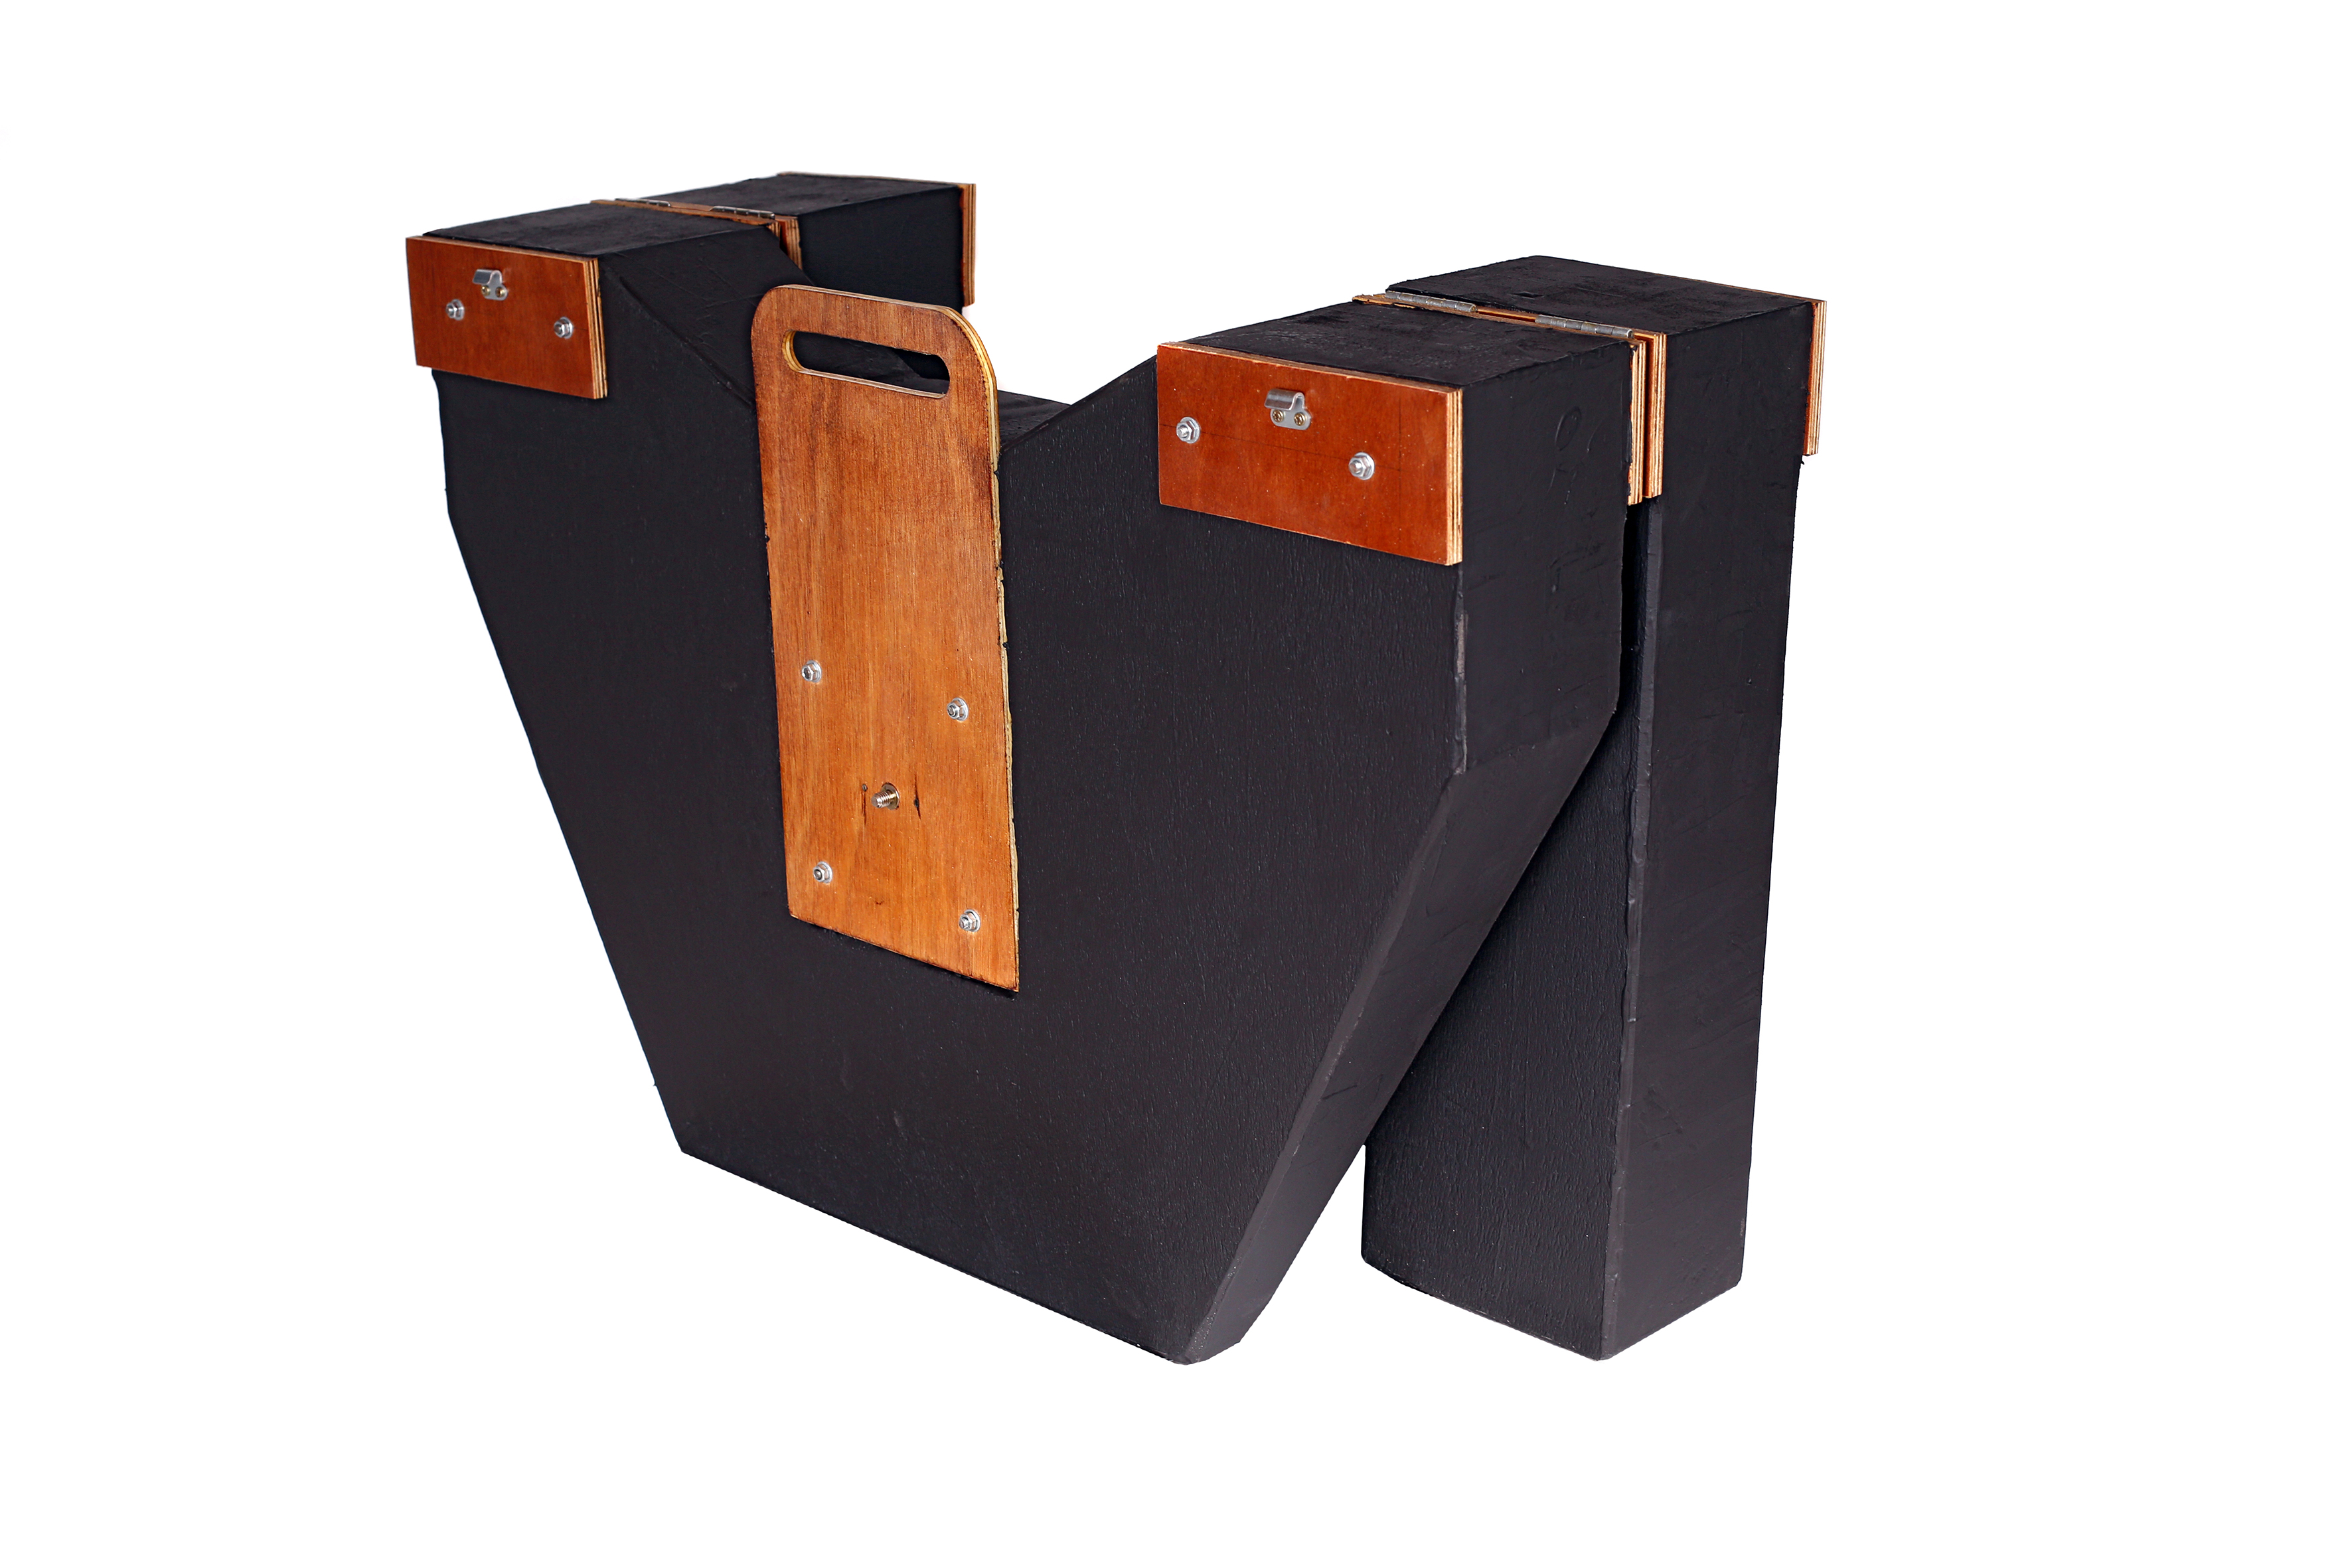
The polystyrene blocks are then linked by so-called marine plywood plates, 10mm thick. This is stronger and more water-resistant than standard plywood.
The plywood plates sandwich the polystyrene blocks using threaded rods. Only the top plate is drilled initially. It is placed on the polystyrene block, and the threaded rods are inserted in the chuck of a screwdriver, screwing directly through. There is no need to drill this one. Once the rods protrude on the other side, we measure and then transfer the location of the holes to the second plate on the plan. This makes it possible to correct slight deviations. This production is easy to implement, less risky and more ecological than glue.
Assembly
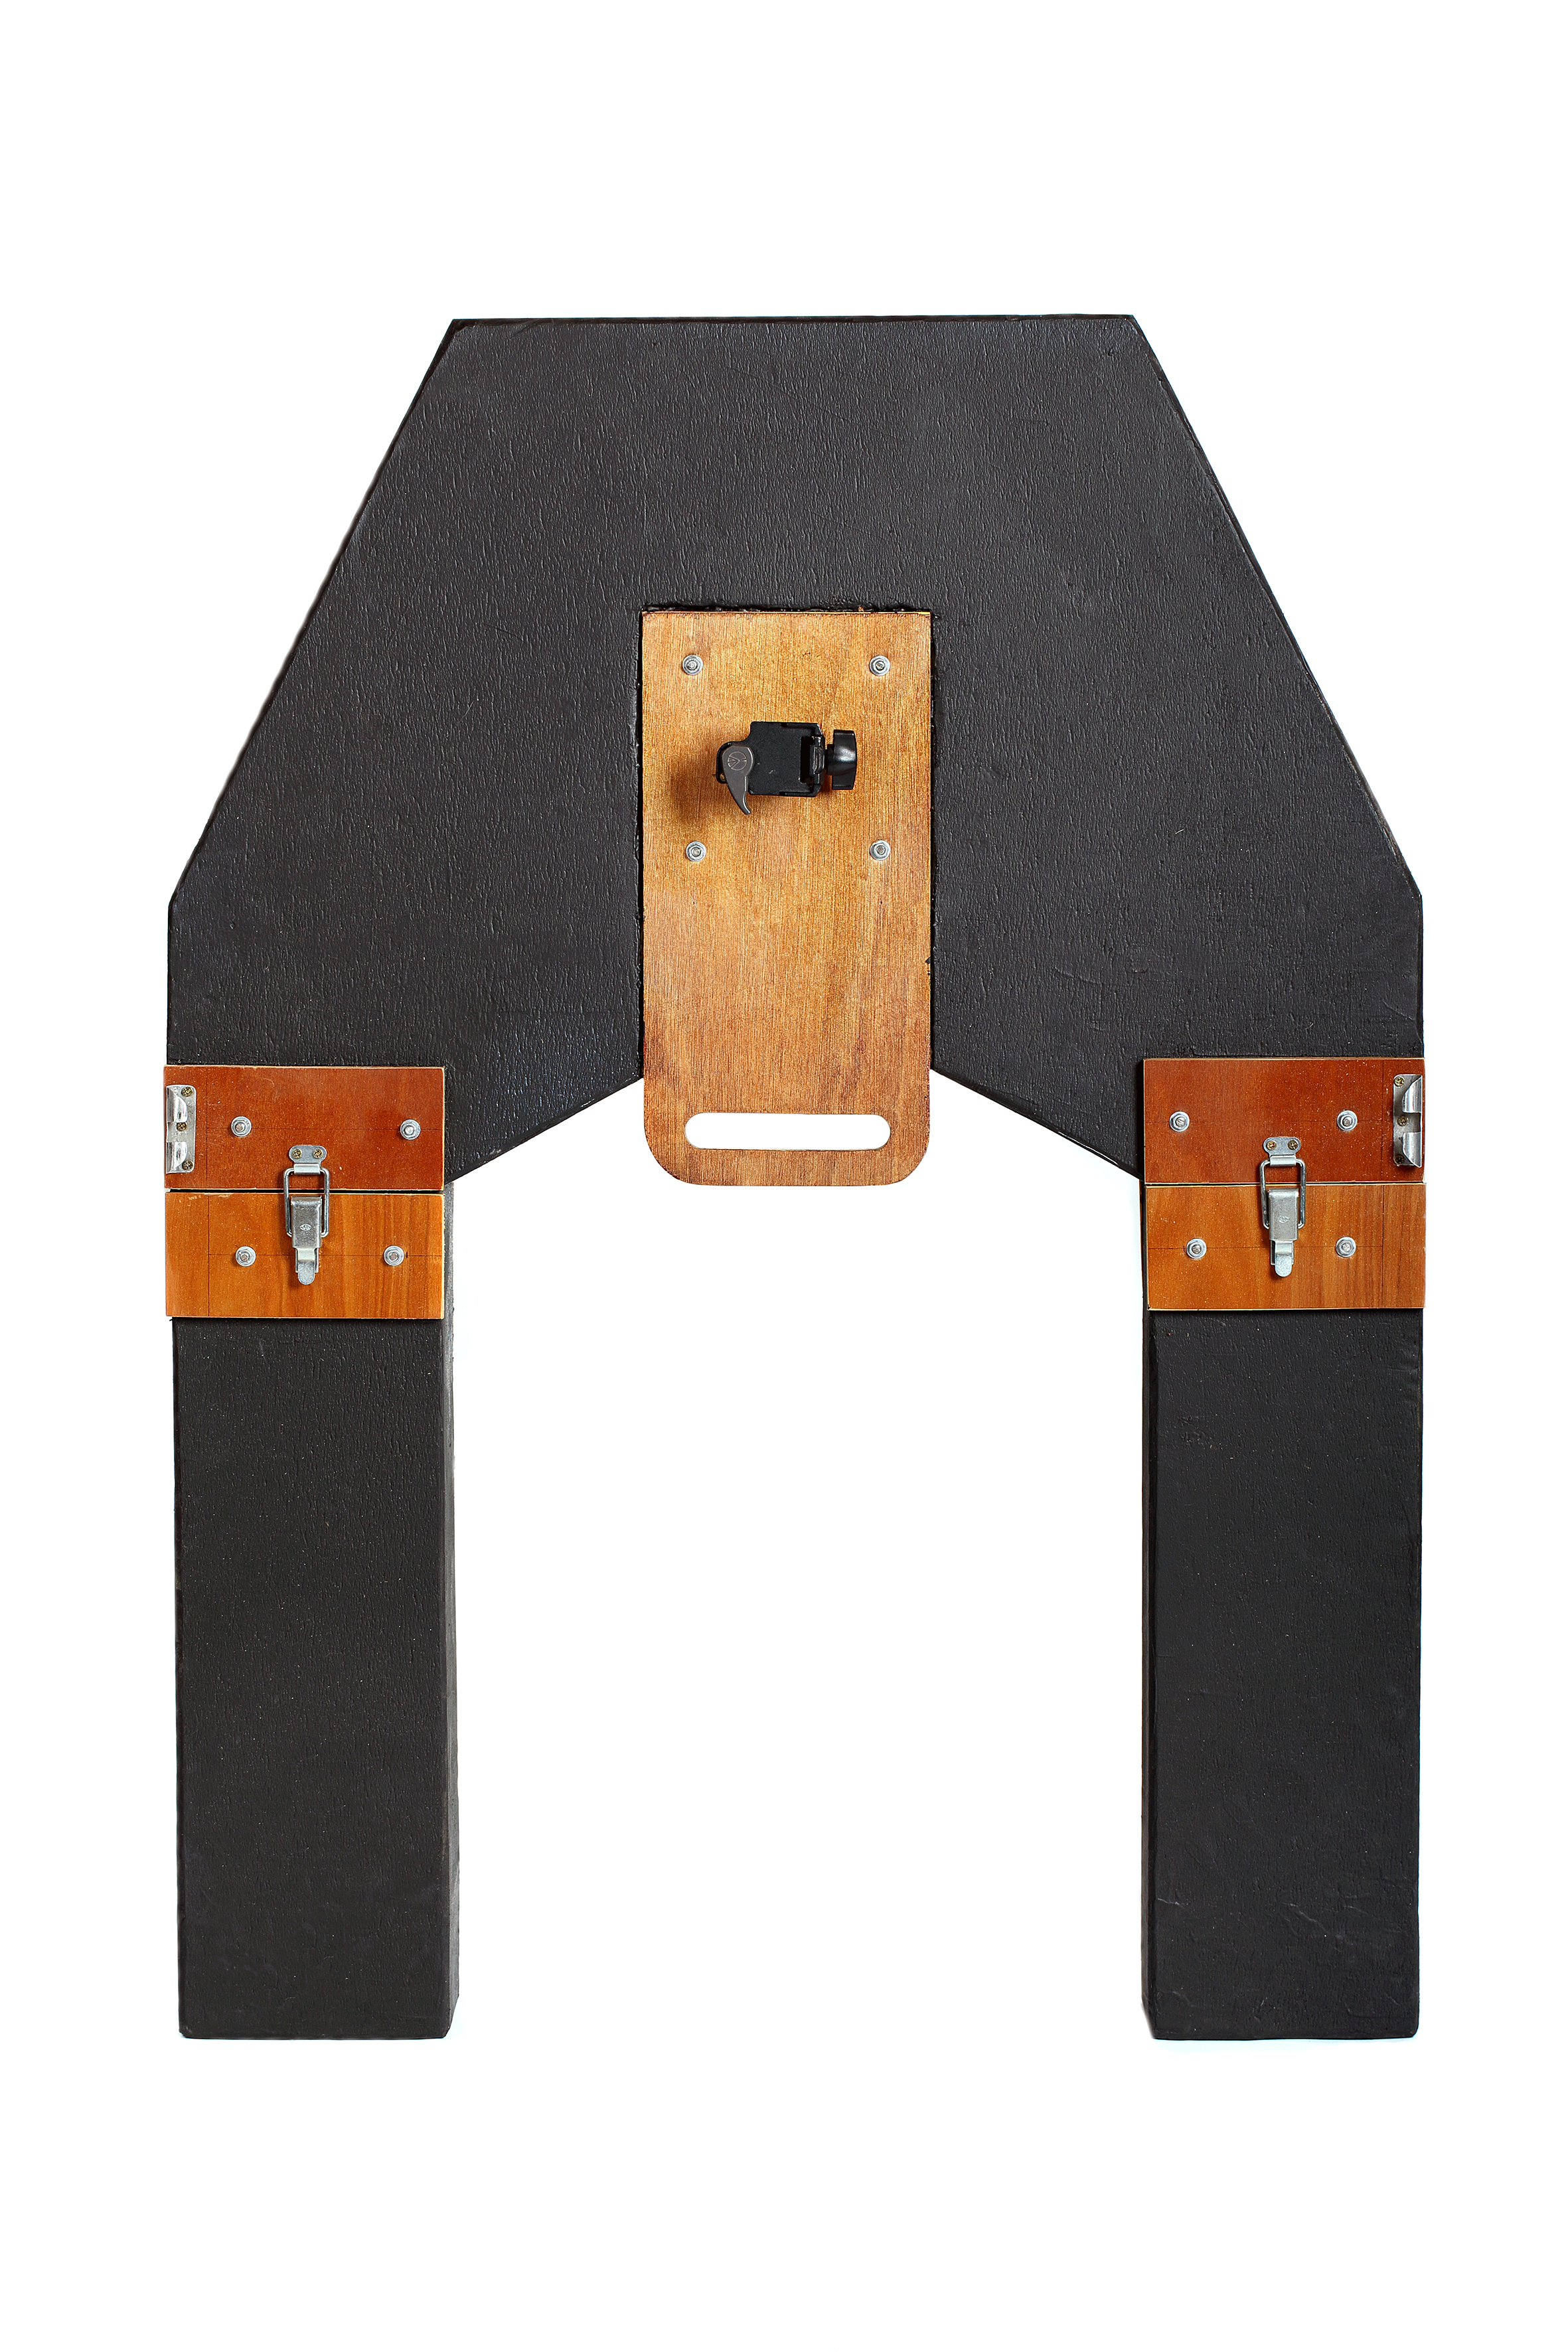
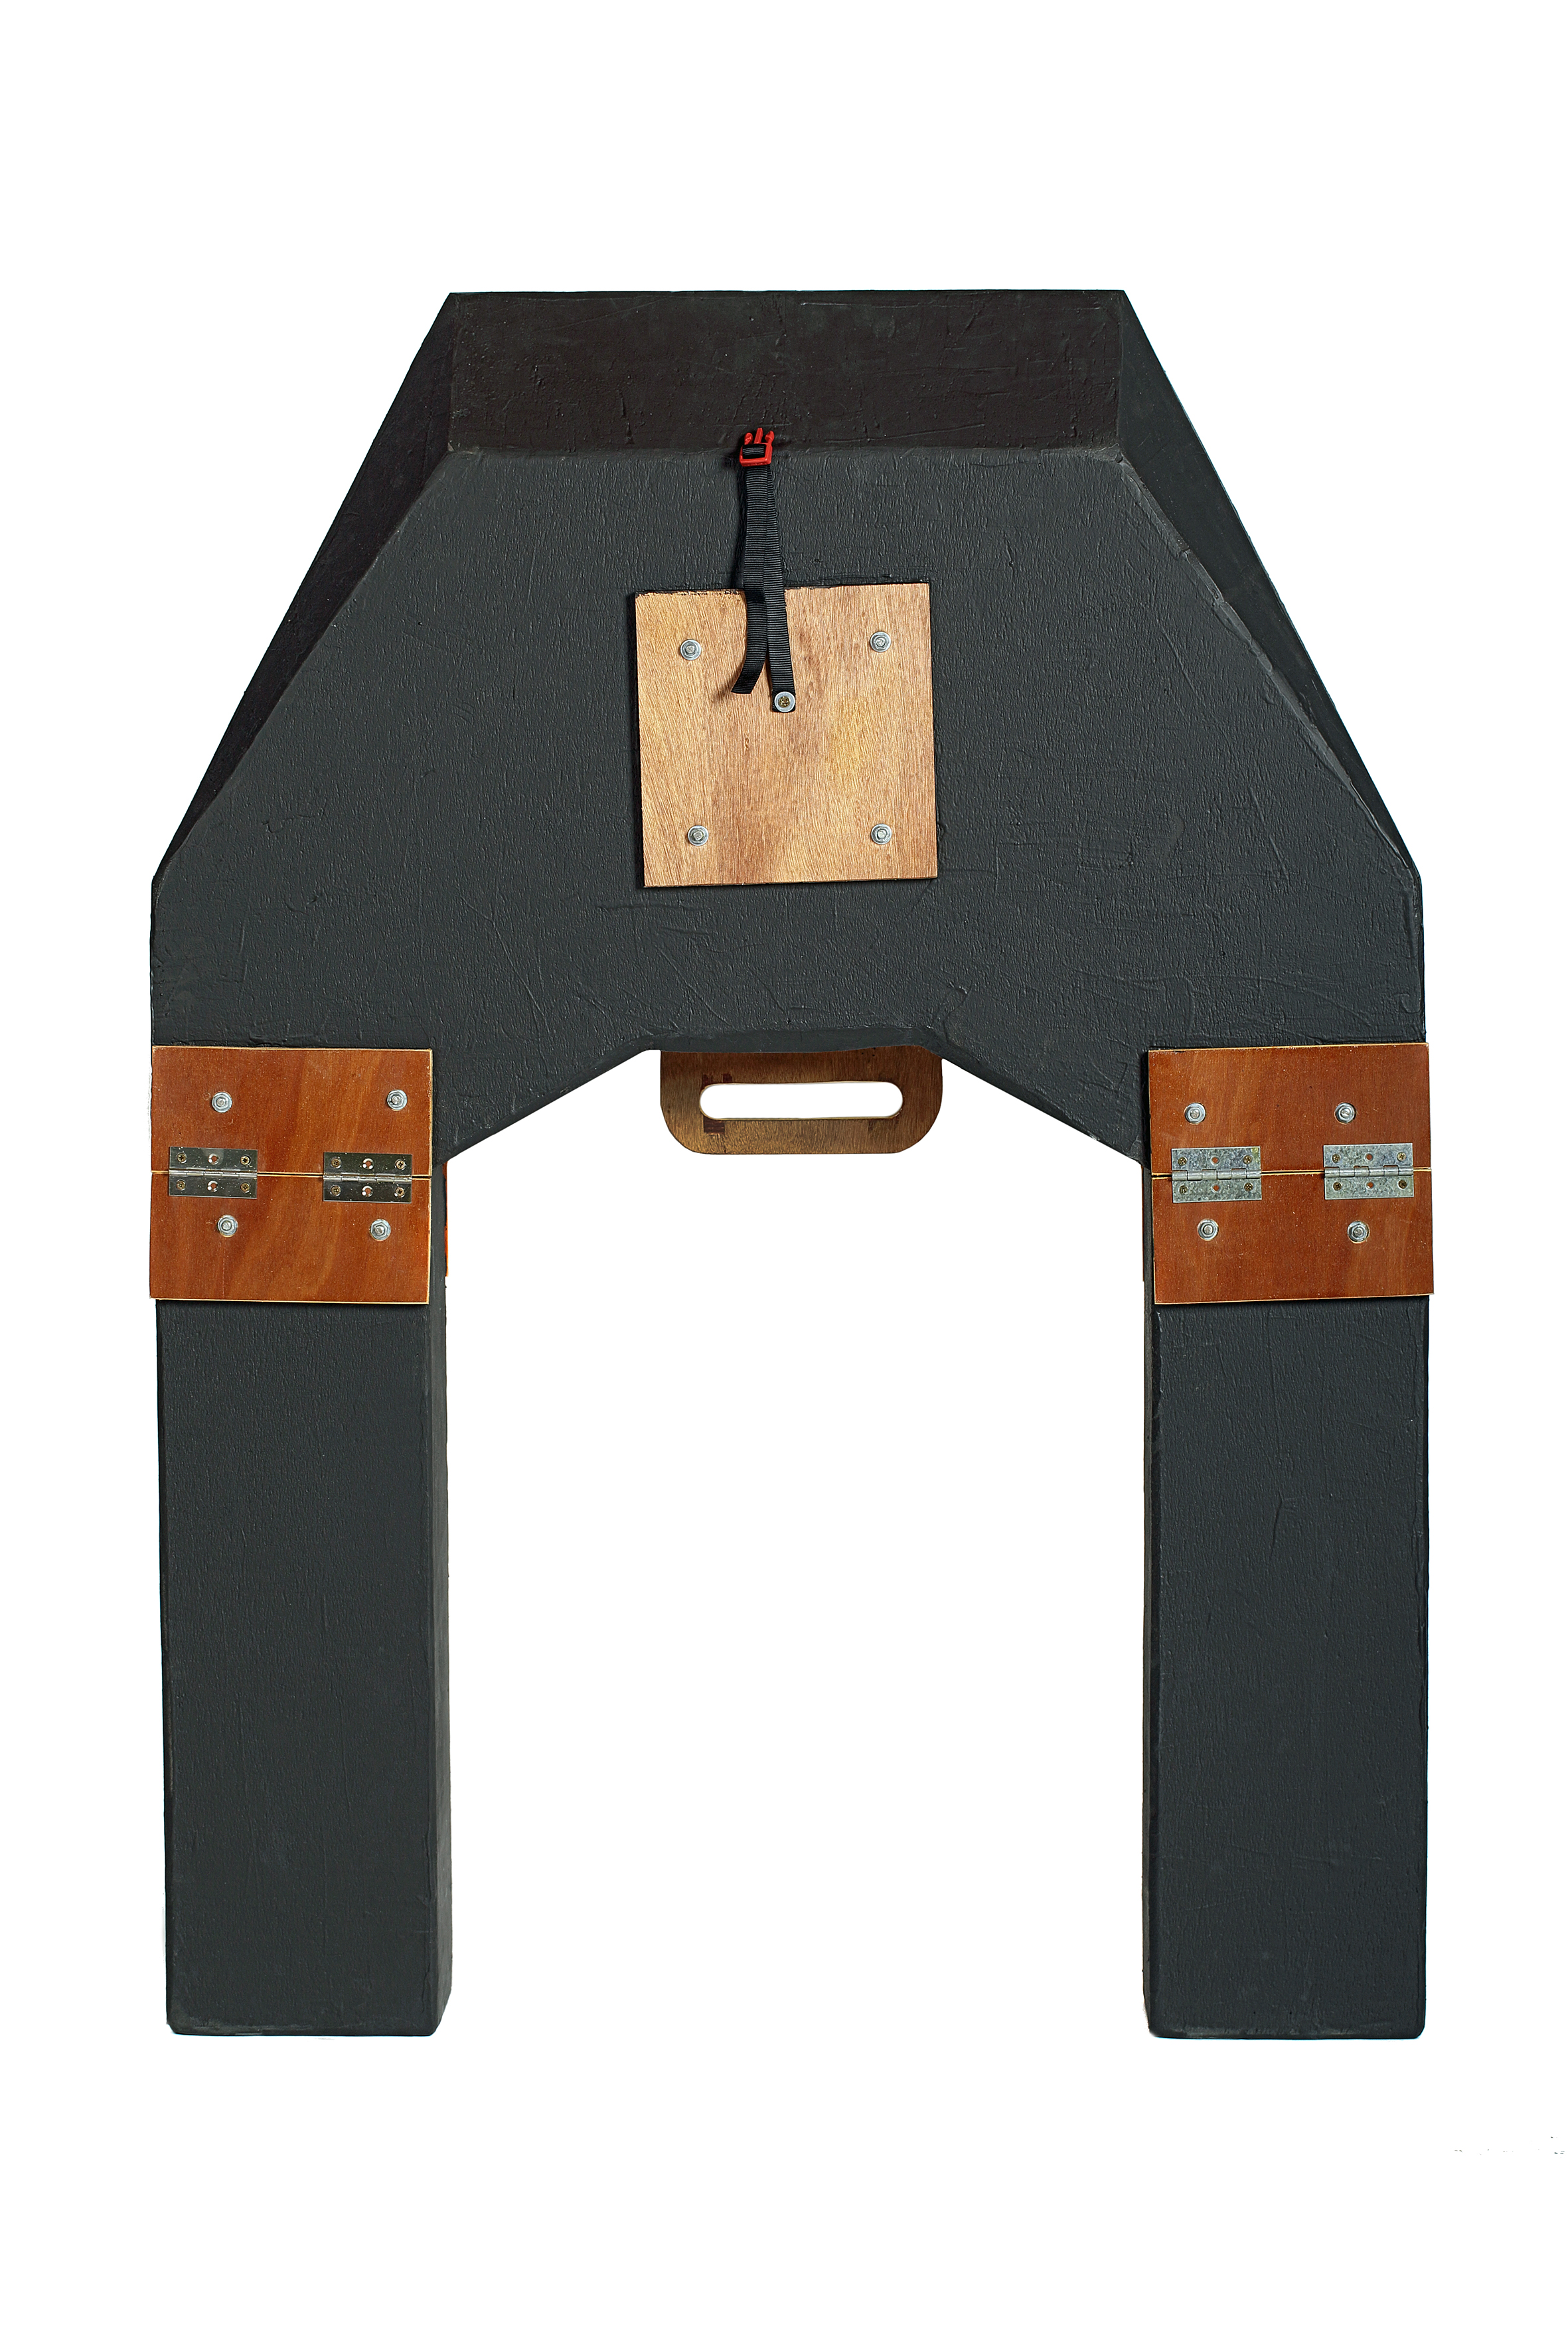
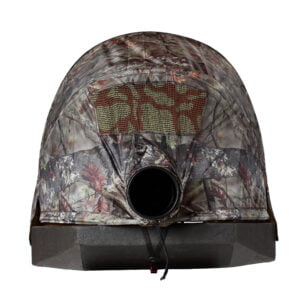
The hinges and screws are made of stainless steel to prevent rust. Four hinges and two turnbuckle closures can make a foldable and reliable system. The part that holds the camouflage structure is made from a piece of aluminium tube (we recycled an old ski pole), which is open on one side, and in which the arch will be clipped to remain easily removable and allow you to get inside.

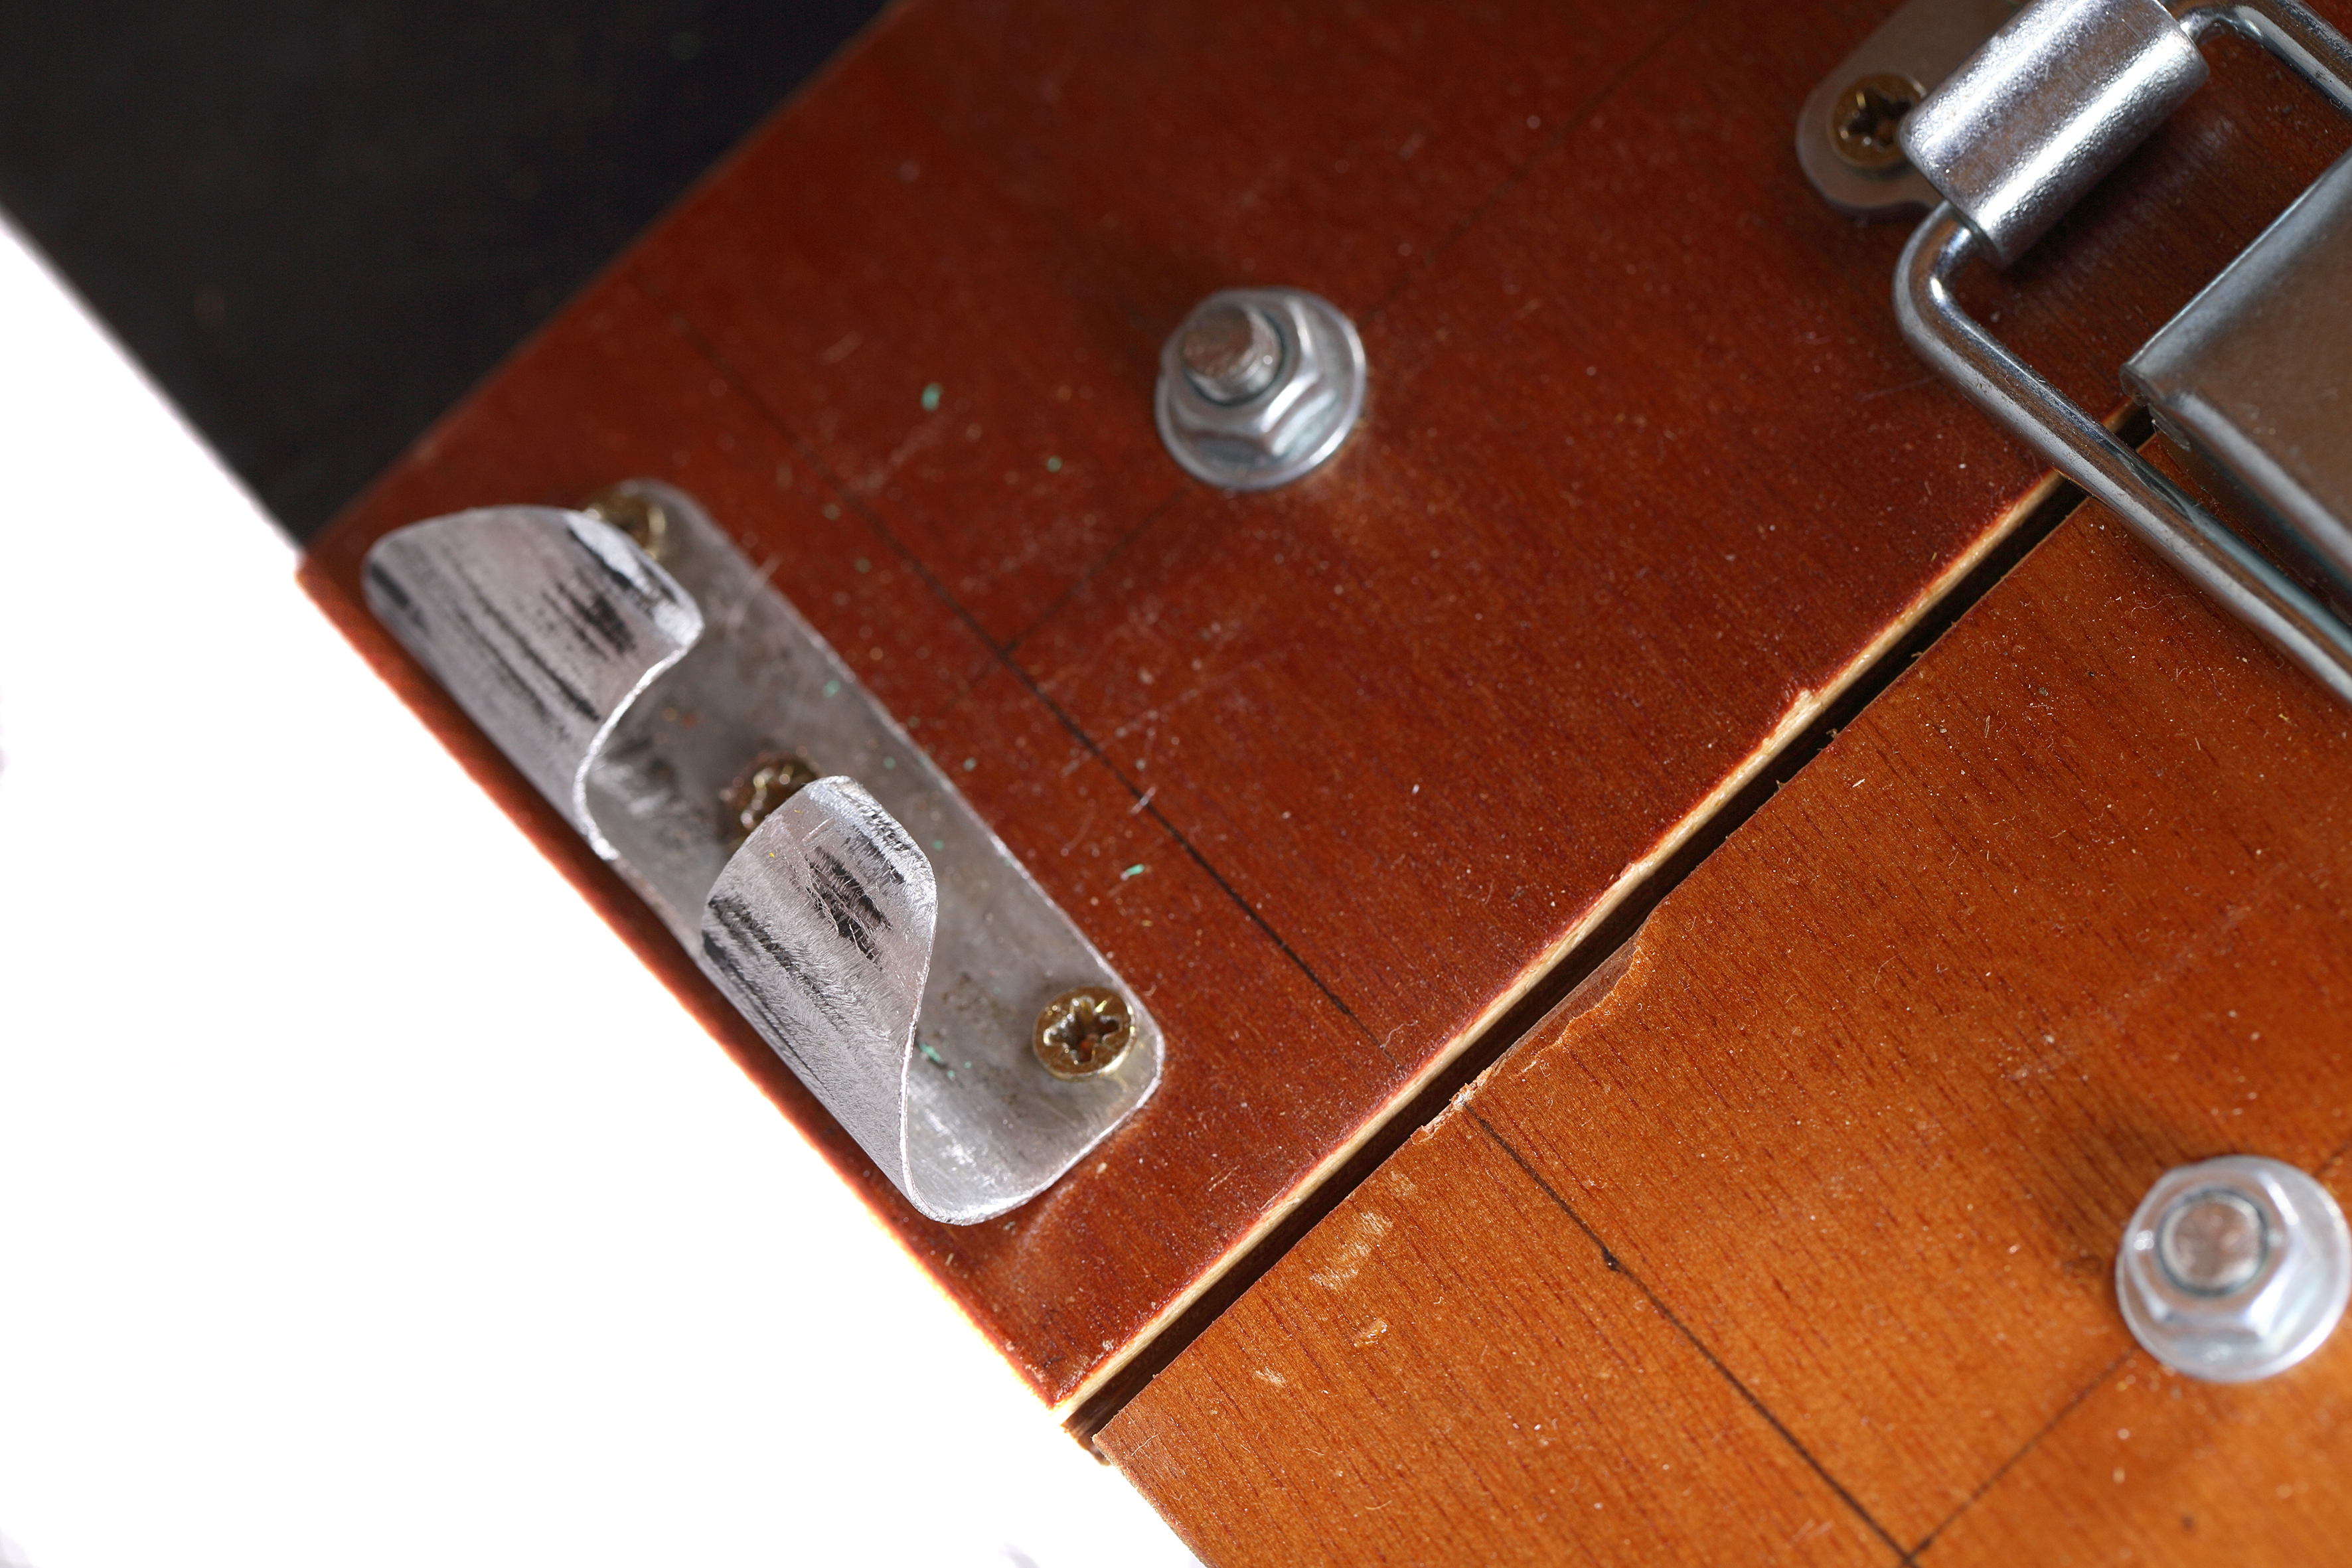
Fasteners and articulation
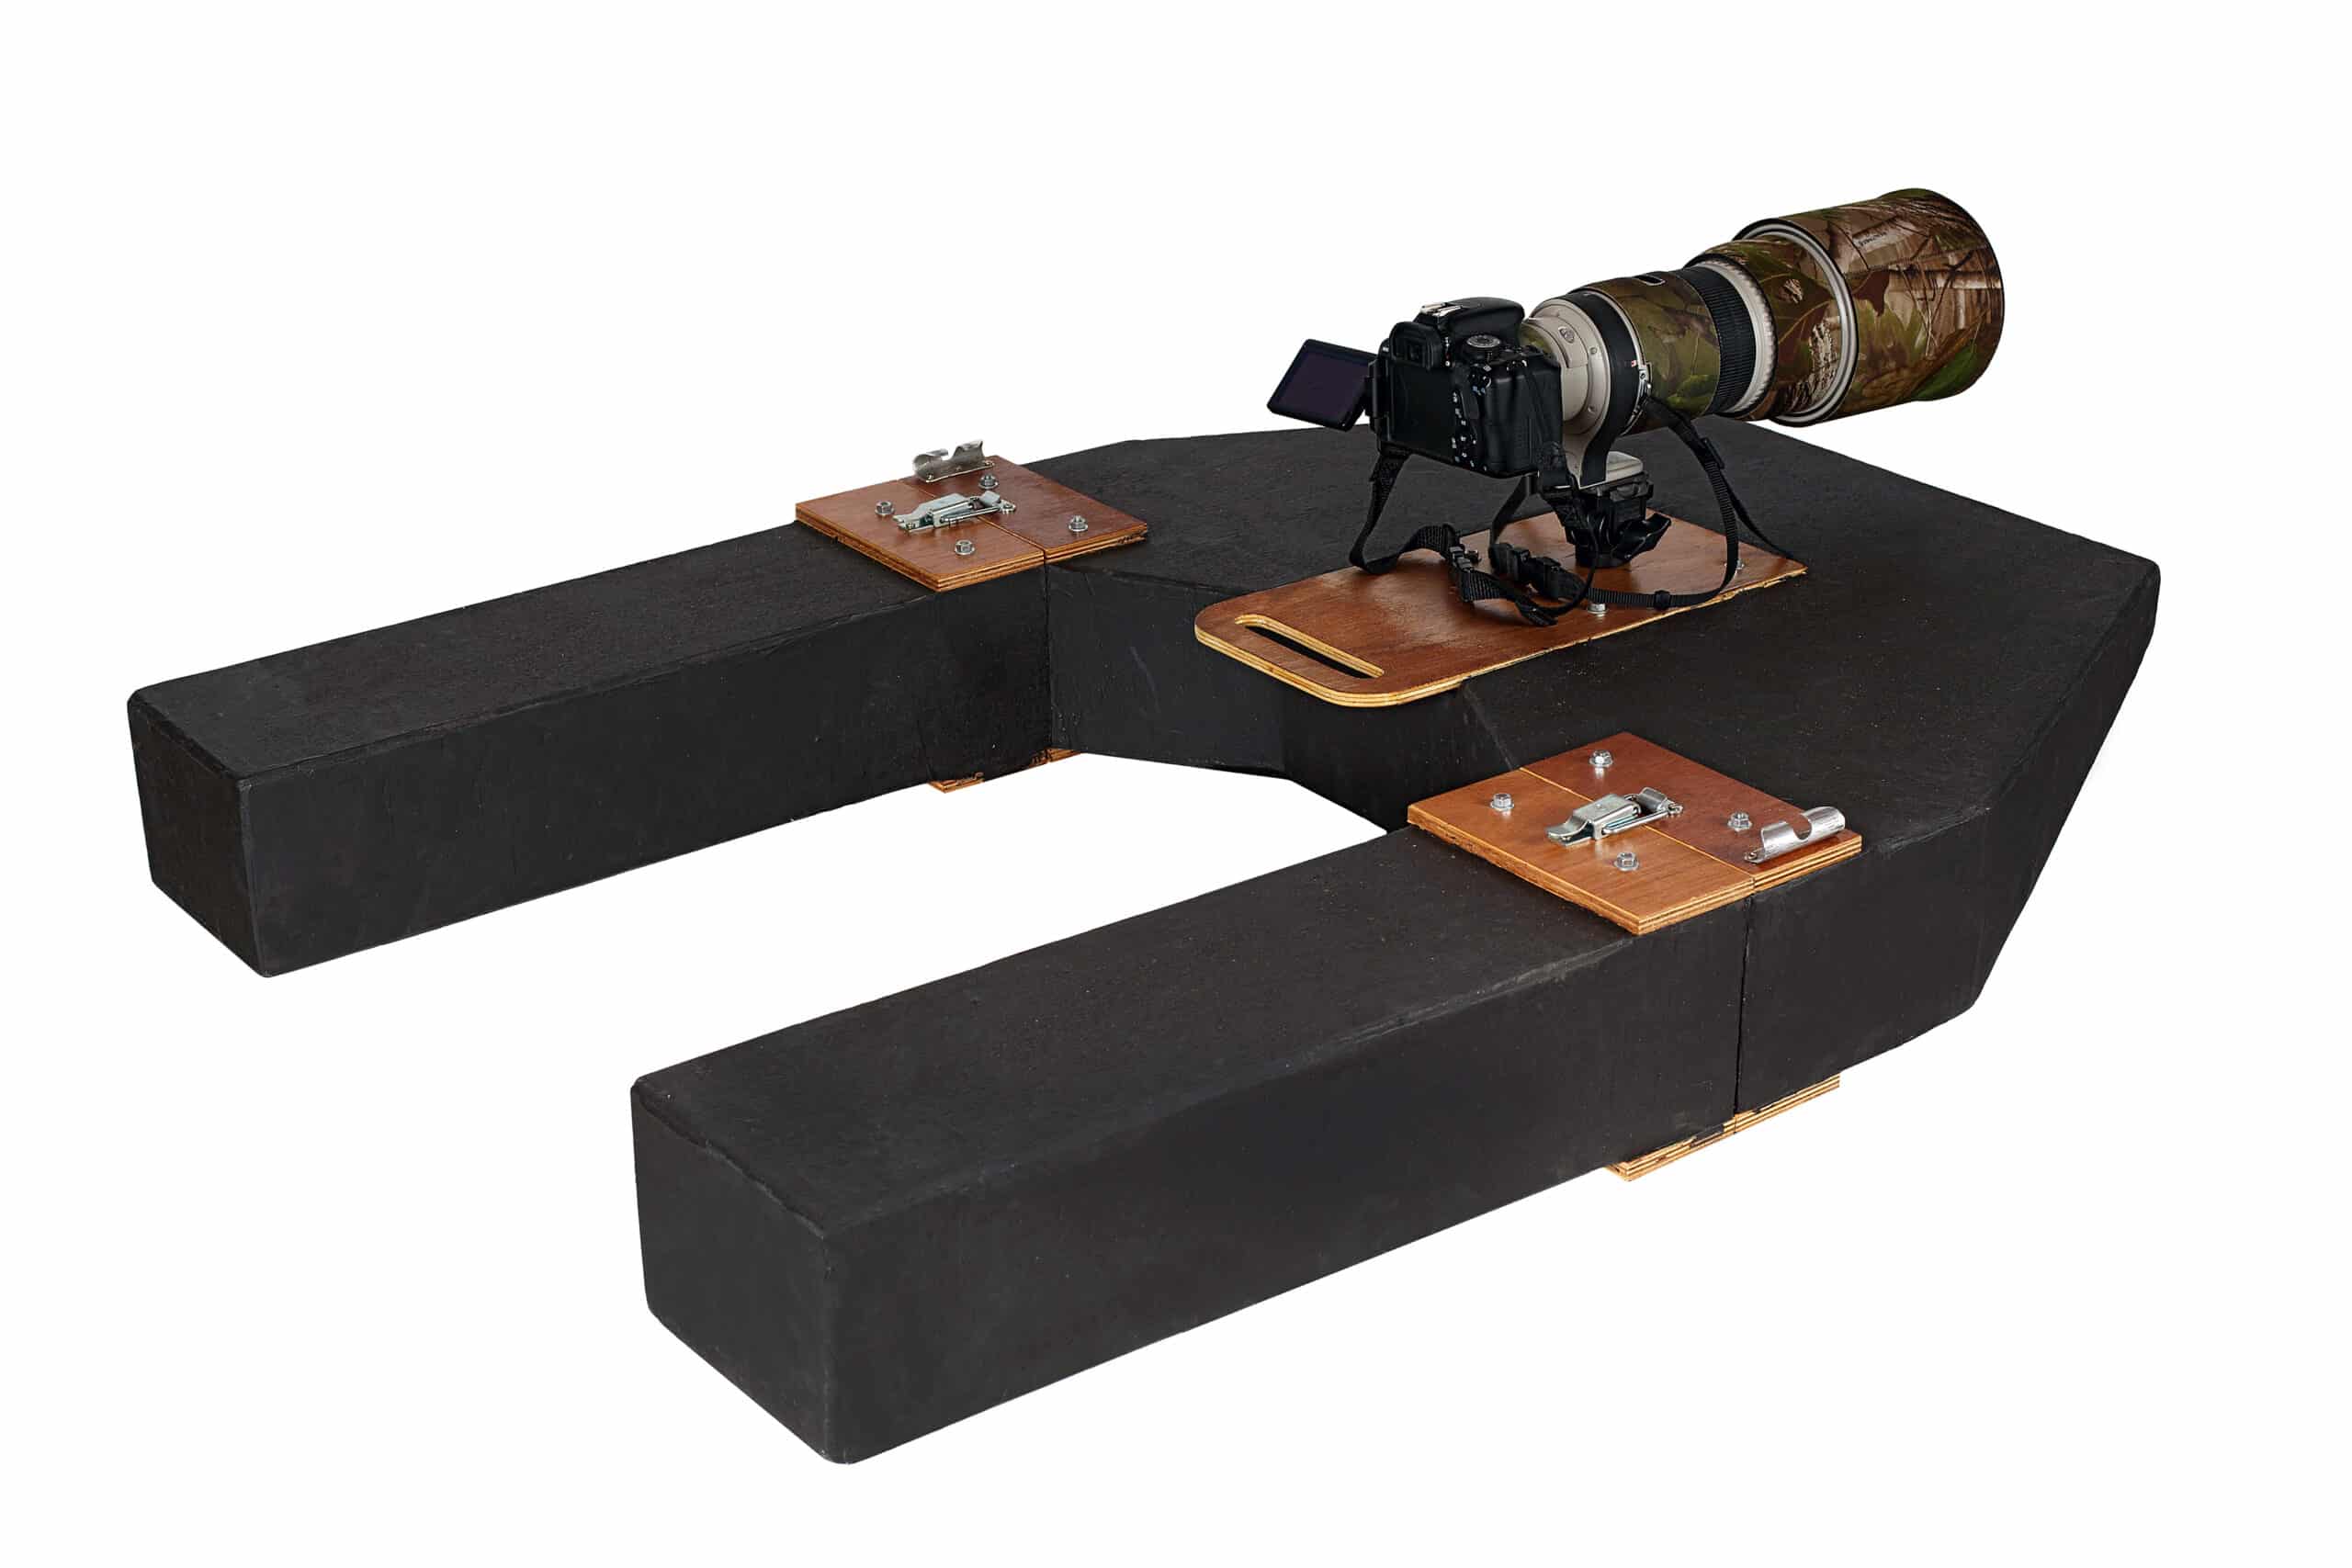
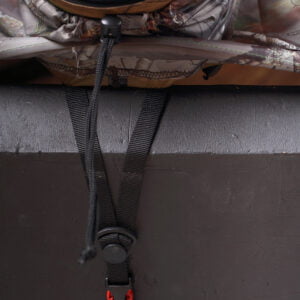
The ball joint which holds the equipment is fixed on the upper plywood plate, which sandwiches the main part of the float. Depending on the weight of your equipment, it may be necessary to carry out buoyancy tests to balance the assembly. The image depicts the correct position for a 2.8/300mm type lens.
We chose a monopod ball head (Manfrotto 234 type), which only has one adjustment axis because it is low. In practice, you rarely have to change the ball joint settings in the field. Moving the carriage is much more effective, pushing it to modify the framing. This ball head is very compact and allows a maximal low angle.
Ball joint
Once the float is ready for final assembly, you can protect the polystyrene with a waterproof coating, the same for coating roofs. This is unnecessary if your canvas covers it enough to ensure camouflage. The wooden parts may be varnished before assembly, to extend their lifespan. Finally, we advise you to apply a drop of assembly glue (blue Loctite) on all the nuts so that they do not unscrew due to vibrations during car transport.
Finishing
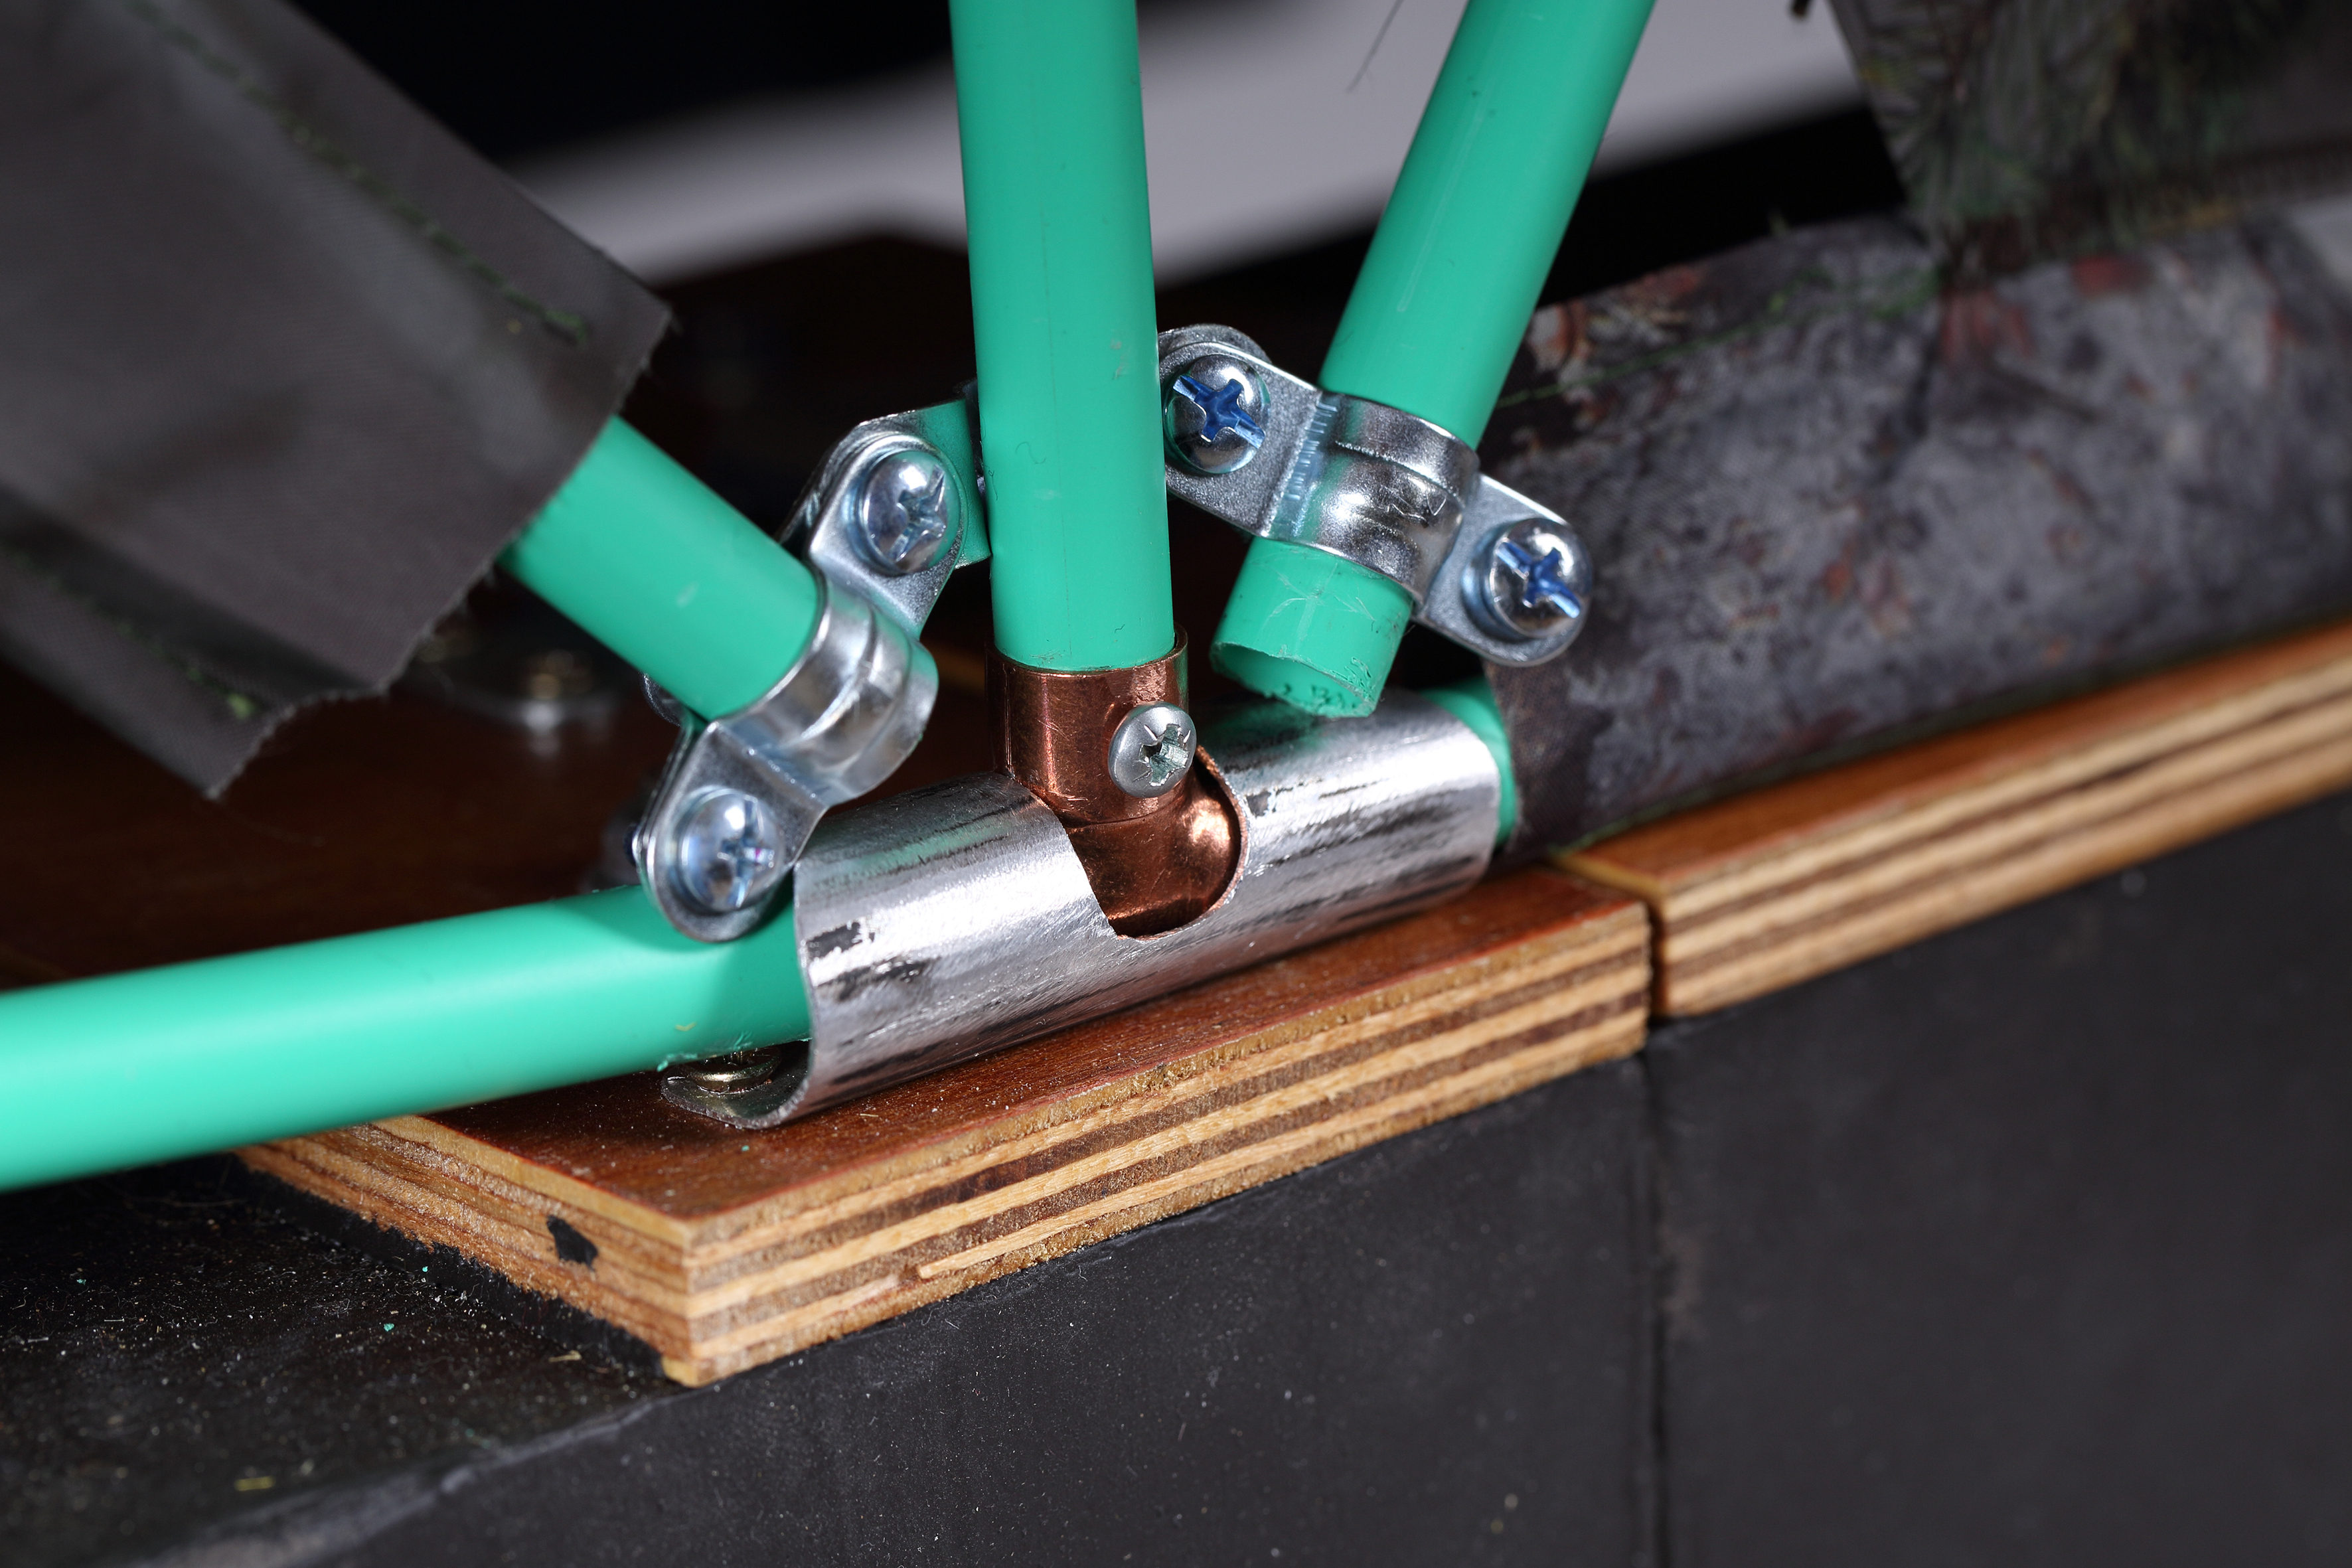
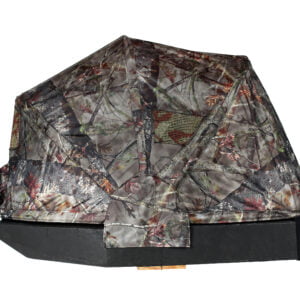
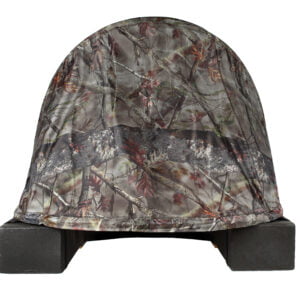
Finally, a structure covered with a camouflage canvas covers the whole. We opt for a tunnel construction, but you can create a simple one with two crossed poles, like on a dome tent.
The hoops are garden stakes (2m plastic tube) connected by copper plumbing tips. These are fixed to the pole at only one end, so you can separate them and easily fold the fabric. The length of the poles should be adapted to your size.
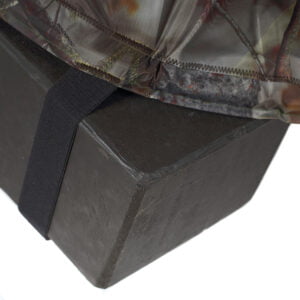
A tip is to set up the structure of the poles with threads and adhesive tape, so you can test the available space before assembly. Mesh windows are sewn in the front and sides so you can monitor the surroundings. Finally, add a small strap at the front and two rubber bands surrounding the float at the back so that the canvas remains stable on the float.
The choice of location
Once your hide is built, find a calm and shallow pond to practice. These are usually most populated by birds like herons, egrets, stilts, plovers, etc. To photograph these species, you will spend considerable time kneeling or crouching, so find a place where the height of the water allows a pleasant position.
Be careful not to trample the banks, and do not cut plants to cover your hide. Fish and birds use the vegetation on the banks to reproduce and raise their offspring so: access the water without damaging it. From February until July, various species are breeding in the ponds, so you have to identify the present species to avoid disturbing the breeding areas. In general, it is best not to find places where the birds go to feed.
Also, be sure to know the regulations in place in your practising location. In a private domain, you must negotiate the authorization with the owner. In a public place or community place, it can be complicated to identify the organization that can authorize you: the town hall, the ONF, hunting or fishing federations or other associations and local authorities. Don’t get in the water without checking it out, or you could get a nice fine, especially if it is a protected area!
3, 2, 1 … Launch!
Once all is clarified, you can finally get into the water. If possible, go with another photographer. You can place yourself in two different places and warn each other silently by SMS about the presence of the subjects. Not being alone is always safer.
Avoid windy days. The wind shakes your hide and the water’s surface, so you will not get good photos.
Finally, to avoid any disturbance of the animals, you should settle before sunrise, after having located your spots the night before. Then stay still while waiting for the birds to settle down and gain confidence. Once they get used to seeing this new shape on the pond, they will ignore you, and you can start taking pictures. The important thing is that they do not associate your hide with the human silhouette, so never show yourself.
By proceeding slowly, you can rotate your hide or let it drift a few meters without the birds seeing anything abnormal. This will allow you to improve your proximity and shooting angles.
Have fun and good luck!
—
About the authors
Spanish photographer Phil Garcia has written several photography books about Canon cameras and diverse shooting techniques. His work has been exhibited at prestigious European photography festivals like Namur and Montier-en-Der.
Photographer Nicolas Périaut has an exceptional understanding of his native Catalan region, its fauna and flora. His passion for this region is reflected in his work and is a powerful instrument for promoting awareness about its imperiled and delicate ecosystem.
Would you like an introduction to floating hide photography? Download our free inspirational guide!